

This is a fun matching game that can be adapted to a variety of levels. I wanted Lillian to have practice identifying the teen numbers so that is what I used; however, if you have a young child start with the numbers 1-5 and then when they are ready add 6-10. You don't want to do them all at once though as it would be overwhelming. Since it is spring I found a mother duck and duckling to use, but you could use any animal. I made a copy from a book to use. If you don't have any pictures readily available though just look on line for one you like. In addition, I know our local library carries all kinds of teacher books so you may want to see what they have. Next, I copied the pattern on colored card stock at the library and then I cut them out. I used a black marker to make the dots and put the numbers on the ducklings. Afterwards, I took them to the teacher store and had them laminated for better durability. We had an enjoyable time playing the game and at the same time were practicing those teen numbers that are so hard to master!

Obviously, I used the same pattern again but instead of matching dots and numerals I created a game that allowed the player to match the upper case letters to the lower case letter. Cole, whom just turned 3 last month, enjoyed trying to help us with it. Again, if your using the game for a child this age introduce just a few at a time or even better, start off with a set that is matching the SAME thing (uppercase to uppercase). If you have a home day care or work at a preschool both this and the above activity would work perfectly as a center. If you use the same color paper for both of them though I would either make sure the activities were not near each other or would do them on different days so the pieces didn't inadvertently get mixed up. Better yet, you may just want to use a different colored paper for each set.

I haven't had a chance yet to do this activity with the kids, but like a lot of my activities it can easily be adjusted for any age child. I went on line and printed out 4-5 different kinds of flowers and then I took them to the library and made a couple copies of each of them using different colored card stock. Then I used sticker dots on some of the flowers and liquid Dots on the others. I tried to keep a pattern so it was easier for younger children to count (for instance, 3 on every petal of the flower on the left) and I also used a different color dot on one petal so they knew where they started counting. I used a ruler and drew the stems and leaves on green card stock (the stem is separate from the flower, do NOT glue them together). Afterwards I had them laminated at the teacher store. This activity is shown using the bottom of an old cookie sheet (just glue small magnets on the back), but you wouldn't have to use them. For a younger child you can use fewer dots and trace the number with their finger to reinforce how the numeral is made. The object of the game is to count the number of dots on each flower and match it to the correct flower stem.
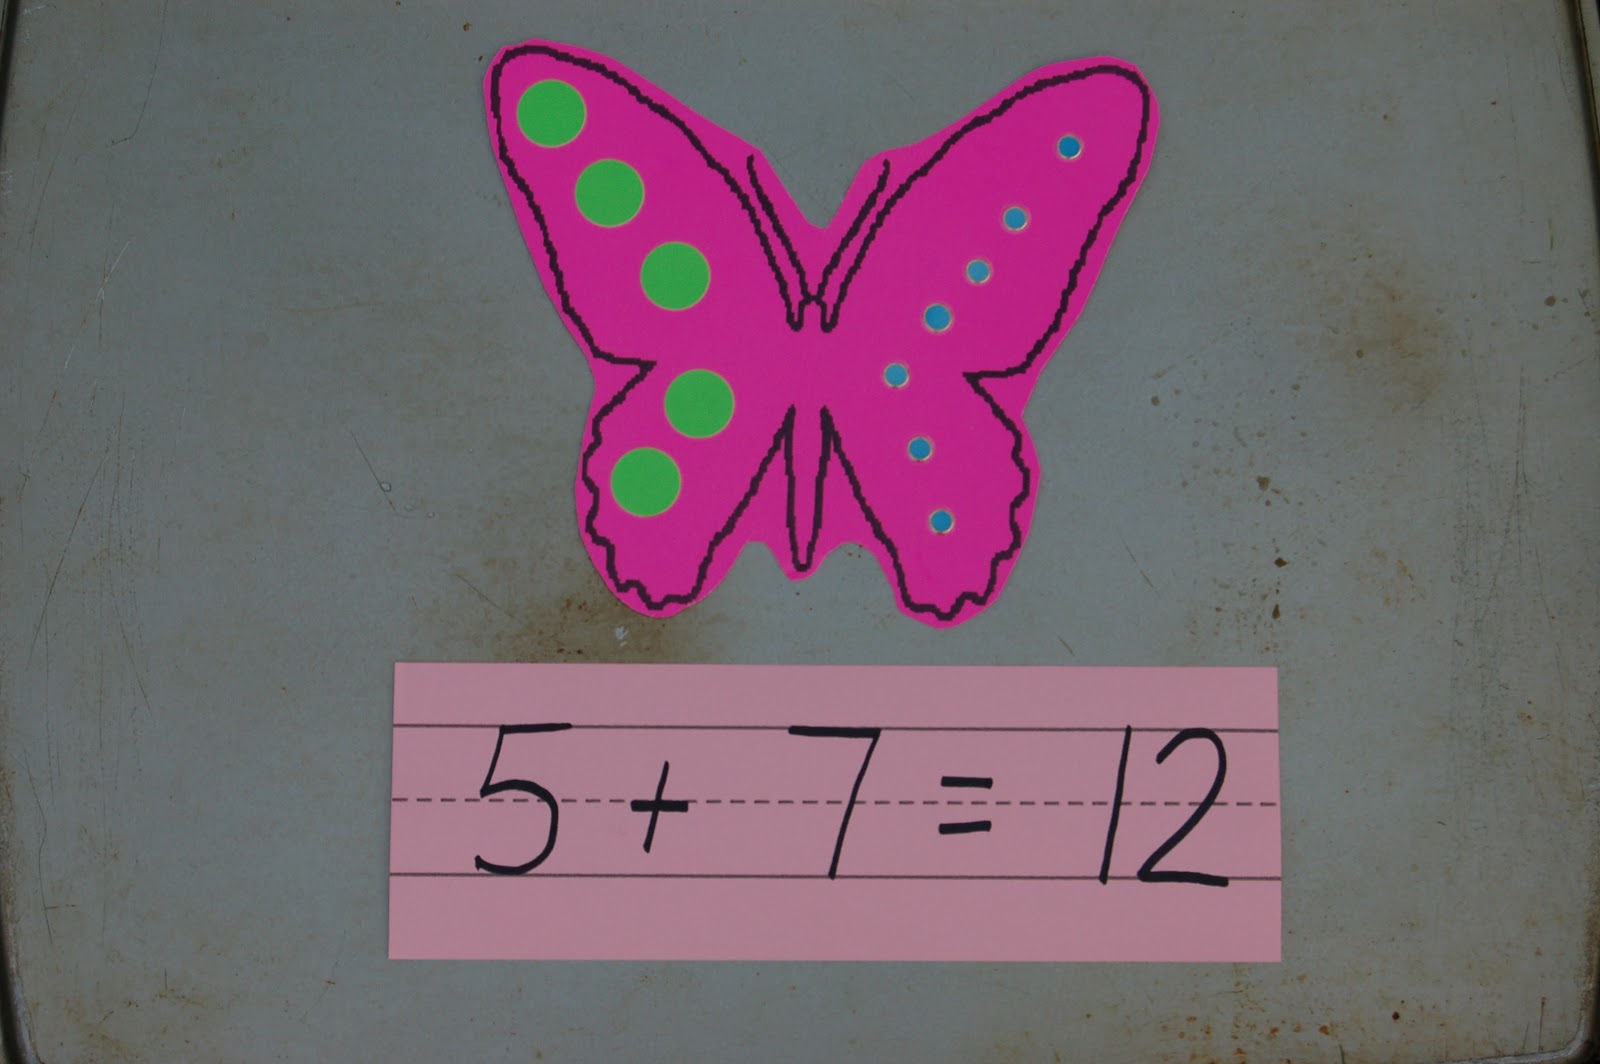
This is another cookie sheet game that could easily be used without the magnets; however, I chose to put magnets on the back so it would stick to the back of the cookie sheet. I chose some pictures of butterflies I liked and printed them out on colored card stock paper. Then I used two kinds of dots on each butterfly side; keeping the same kind of dot together on one side. Again, I tried to keep them neat and orderly so that it was easier for my younger children to count. Next, I made up cards with the corresponding math problem on it. I bought these small sentence strips at the teacher store to use ($3 for a whole pack I believe) but you could use large index cards too. I have FIVE extensions for this activity!
1. Can the child show you the small (or large) dots.
2. Which side has more (fewer) dots.
3. After the child is comfortable solving the equations you can cut the cards a part and have them put them back together as shown in the following picture.

4. Sort the butterlies by color.
5. Sort them by the type of butterfly they are.
No comments:
Post a Comment